
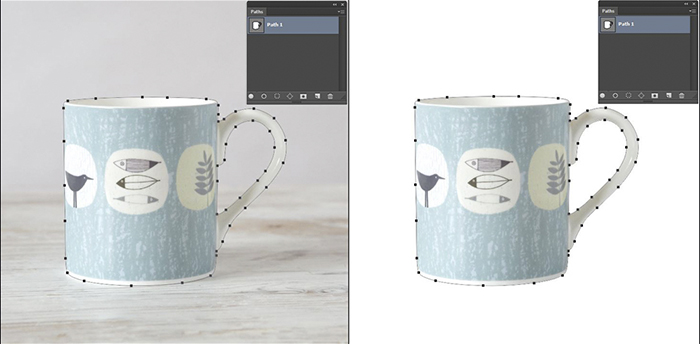
Raster to Vector Conversion Service involves transforming raster images, which are made up of pixels, into vector images, which are composed of scalable paths and shapes. This process is particularly useful when converting low-resolution images into high-quality, scalable graphics for purposes like printing, logo design, and more. Here’s a step-by-step guide on how to work with a Raster to Vector Conversion Service Select a Service Provider: Look for reputable service providers that offer raster to vector conversion services. You can find these providers online through search engines, freelancing platforms, or graphic design marketplaces. Submit Your Image: Once you’ve chosen a service provider, you typically need to upload the raster image you want to convert. The image can be in formats like JPEG, PNG, or GIF. Specify Requirements: Clearly communicate your requirements to the service provider.
Guidelines you have for the conversion.
For example, if you’re converting a logo, indicate if you want specific colors to be preserved or certain details to be emphasized. Wait for Conversion: The service provider will then process your request. The time it takes can vary based Clipping Path on the complexity of the image and the workload of the service provider. Some services might offer different turnaround time options at different price points. Review and Feedback: Once the conversion is complete, the service provider will likely provide you with a preview of the vector image. Review it carefully to ensure that all the important details have been accurately captured. If any adjustments are needed, provide feedback to the service provider. If you’re satisfied with the conversion. The service provider will then provide you with a Vector image in the format you specified.
Payment Depending on the service provider
policies, you’ll likely need to make the payment at this stage. Different providers have different pricing structures. Which can be based on factors like complexity, urgency, and. The number of images you’re converting. Quality Check: After downloading the vector image, perform a thorough Asiae Mail List quality check. Ensure that all the details, shapes, and lines are accurate and match your expectations. This step is crucial, especially if the vector image will be used for professional purposes. Feedback and Revisions: If you spot any issues or discrepancies, communicate with the service provider to request revisions. Reputable providers often offer a certain number of revisions as part of their service. Use the Vector Image Once you’re satisfied with the vector image and it meets. Your requirements, you can use it for your intended purposes such as printing, graphic design